Hand building an olla


Trying something new. I’m using low-fire clay bodies that mature at cone 04-1. RedArt Terra Cotta, RedArt with sand, and Terra Cotta (which has grog). I will fire them at our bisque temperature, cone 06 (~1000C), where I hope they will remain porous. They’ll be prettier than my first pots, plus I won’t be under-firing.


I bought a banding wheel from Seattle Pottery Supply and am hand-building at home. We’ll see if that’s worth it when I have accumulated a bunch of pots and try bringing them into the studio!


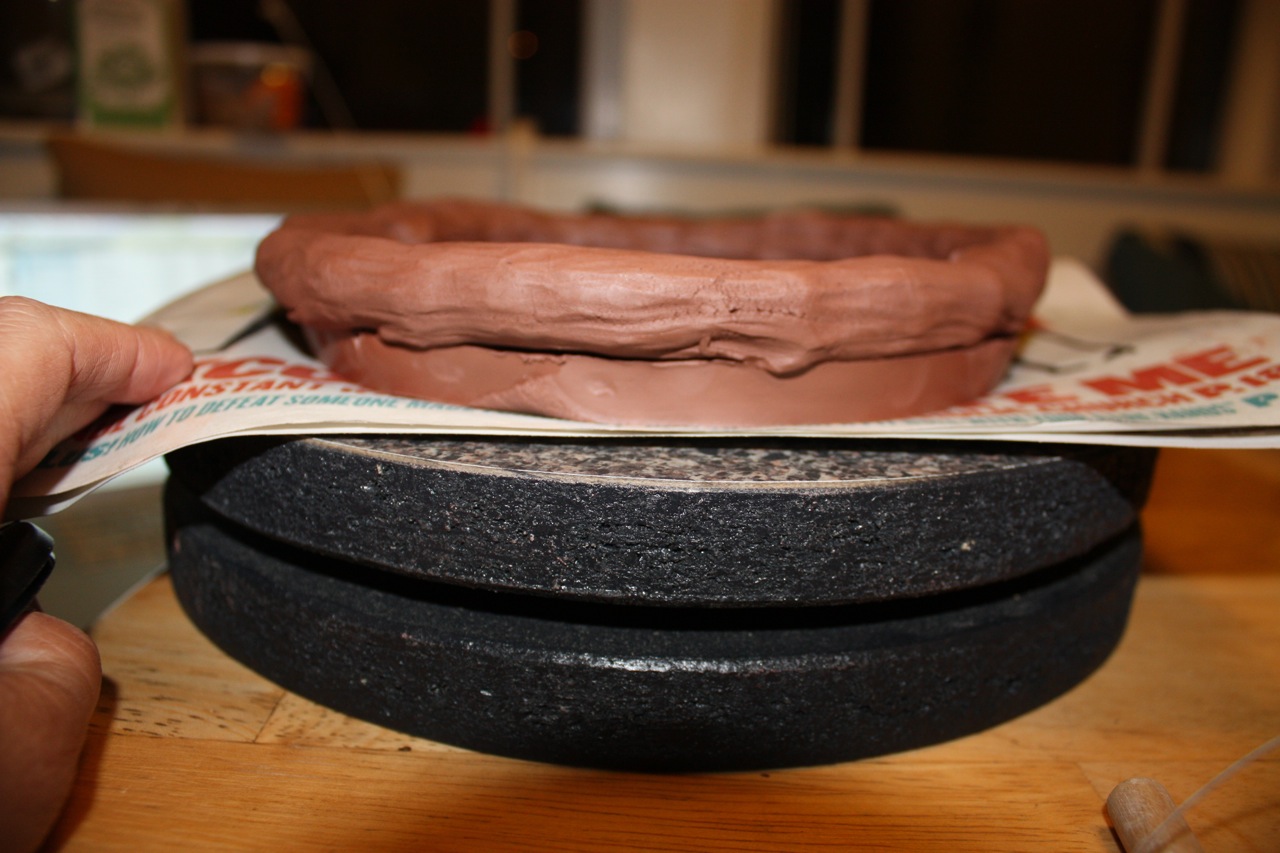
Starting with a slab rolled out with my pastry rolling pin between two wooden-handled spoons (for even thickness). Cut columns of clay and squeeze them into rough ‘coils’ 1/2″ thick.


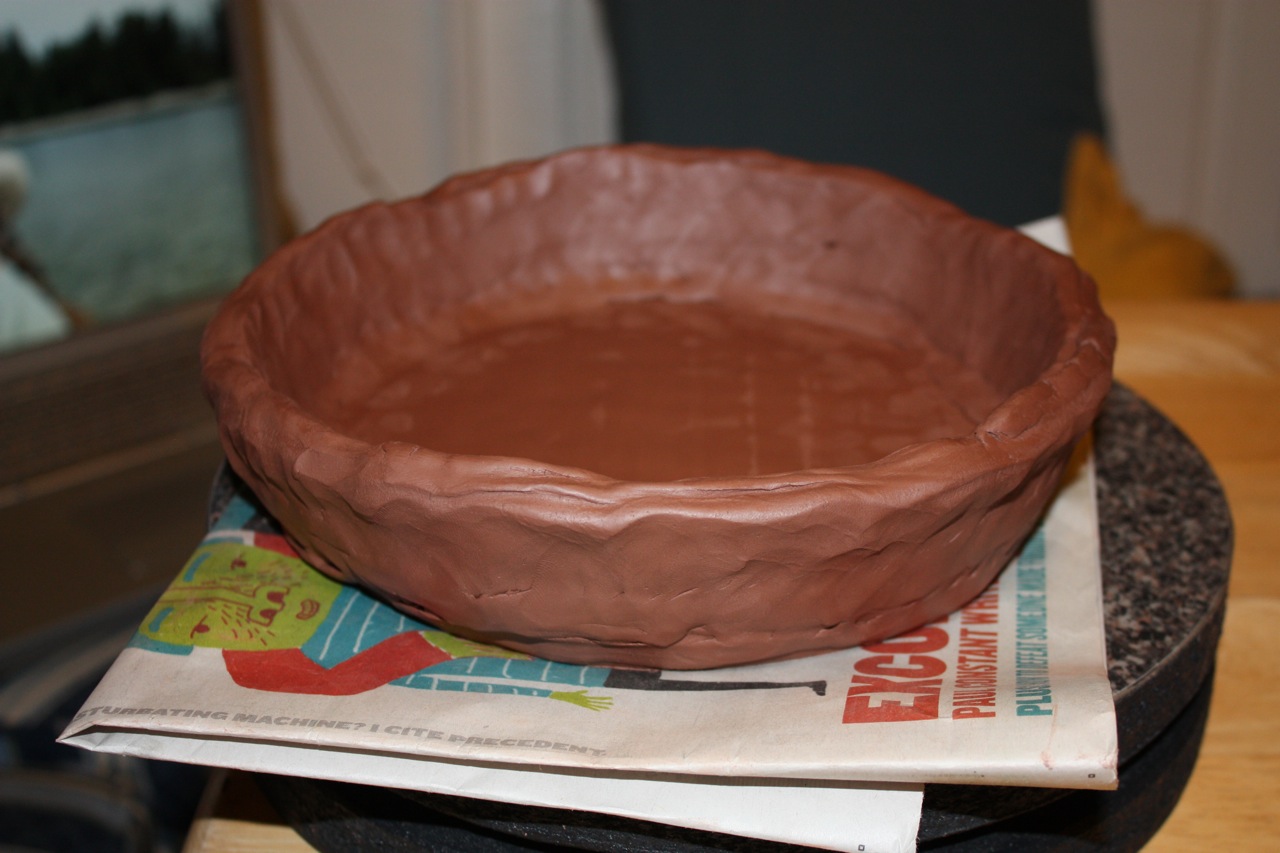
Set coils on the outside of lower layer for increasing, on the inside for decreasing. This is the RedArt with Sand. Doesn’t it look like it’s made out of chocolate?? It feels that way too. Buttery. I’m thinking – where is the sand?


Mend the coil to the lower layer and vice versa. Scrape sides often with a metal tool for strength.


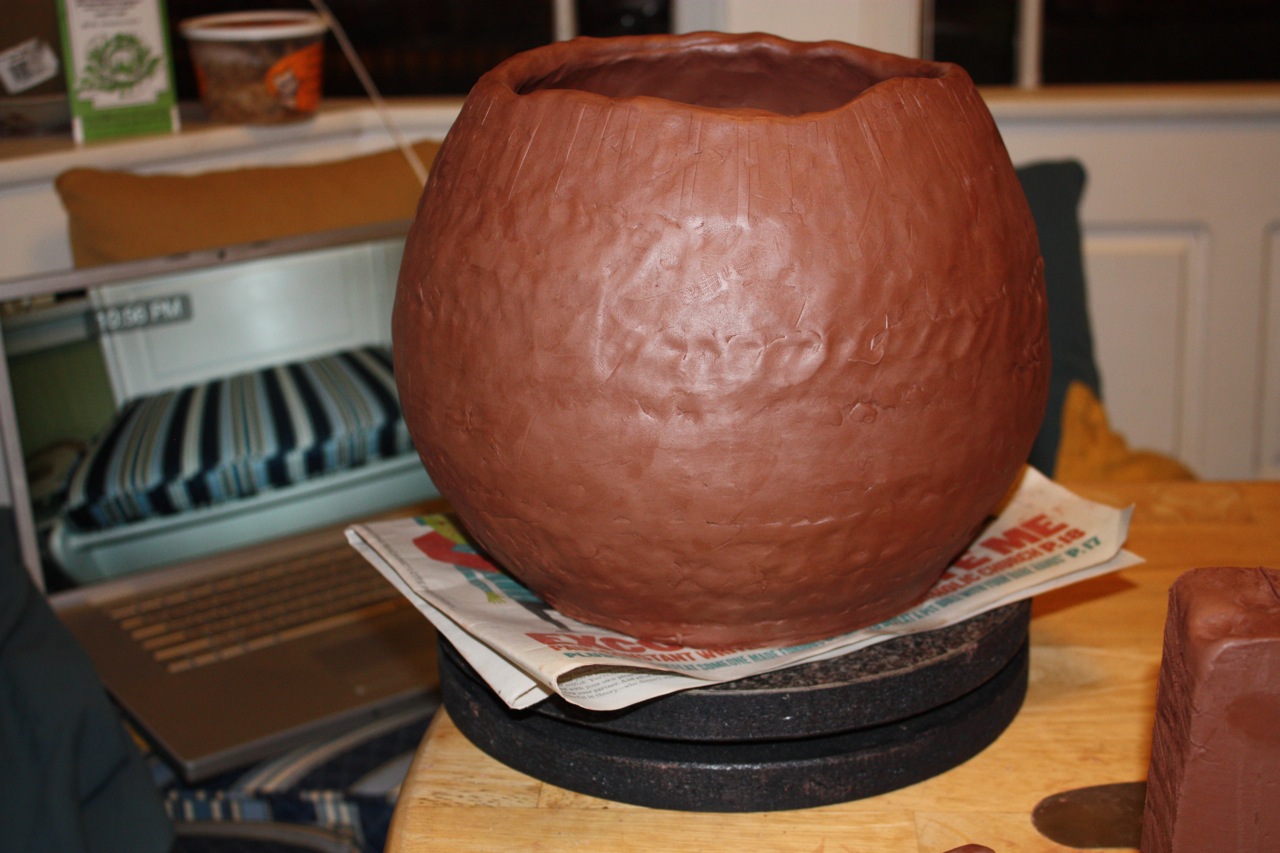
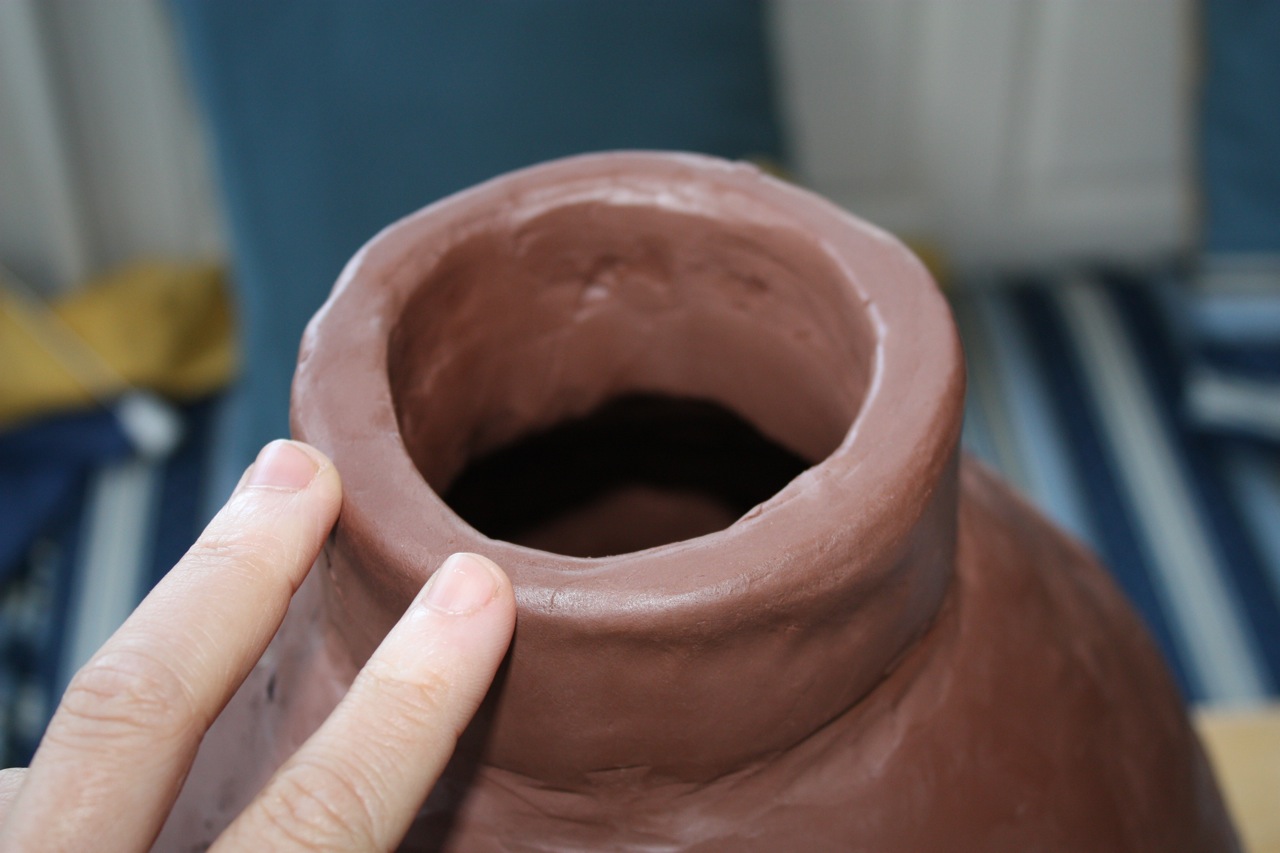
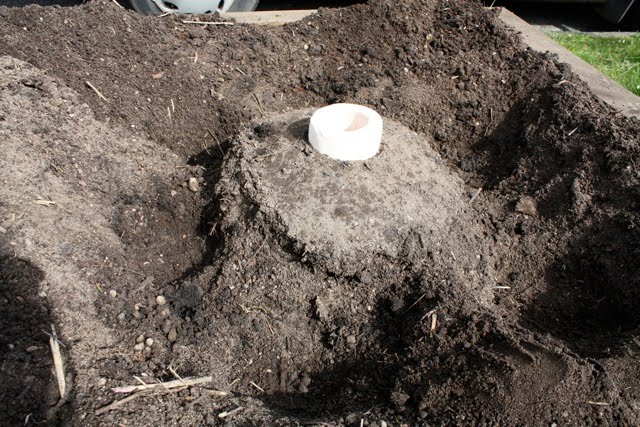
I think it would be useful to still reach a hand inside the olla, so I’ve been building them with necks large enough for my wee hand.


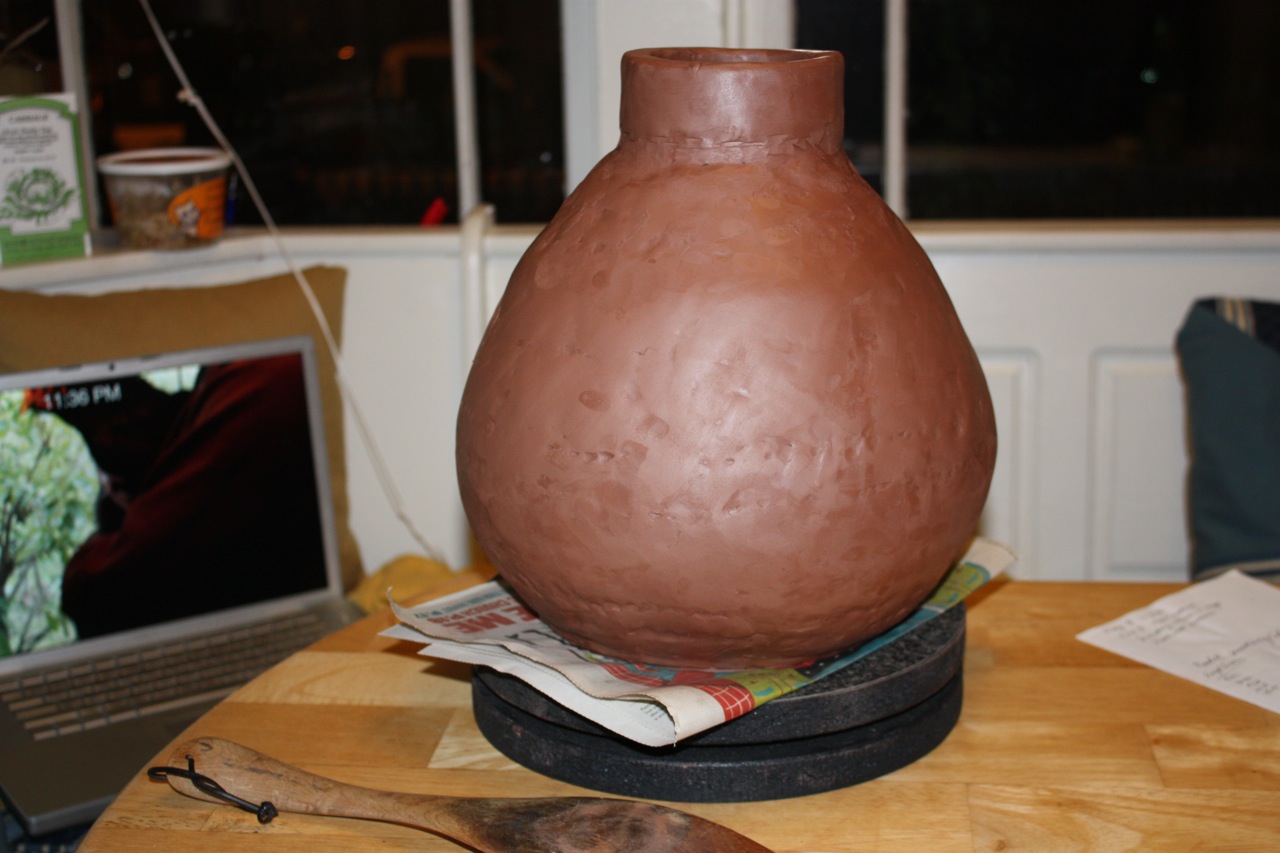
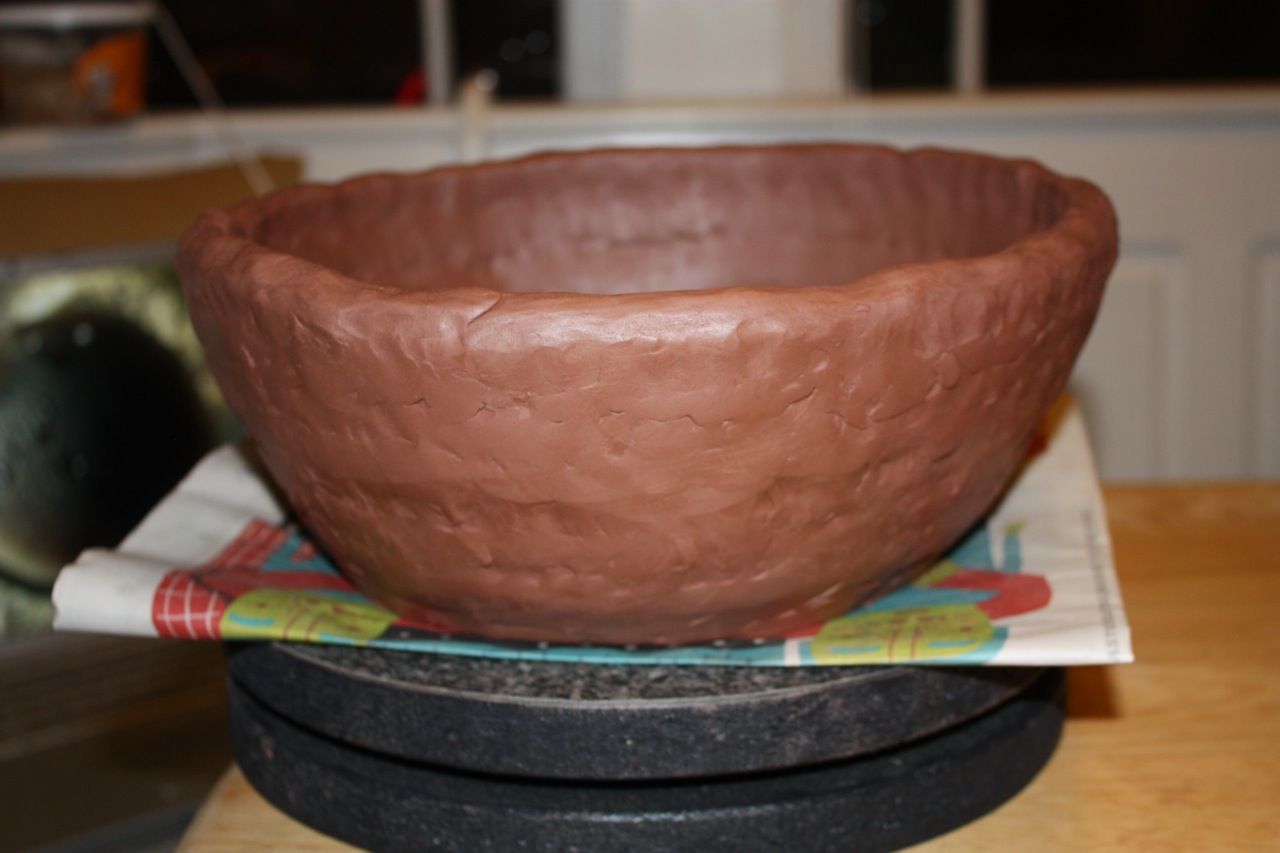
Once the pot is no longer tacky to the touch, I paddle the olla with a wooden spatula to even out the shape.


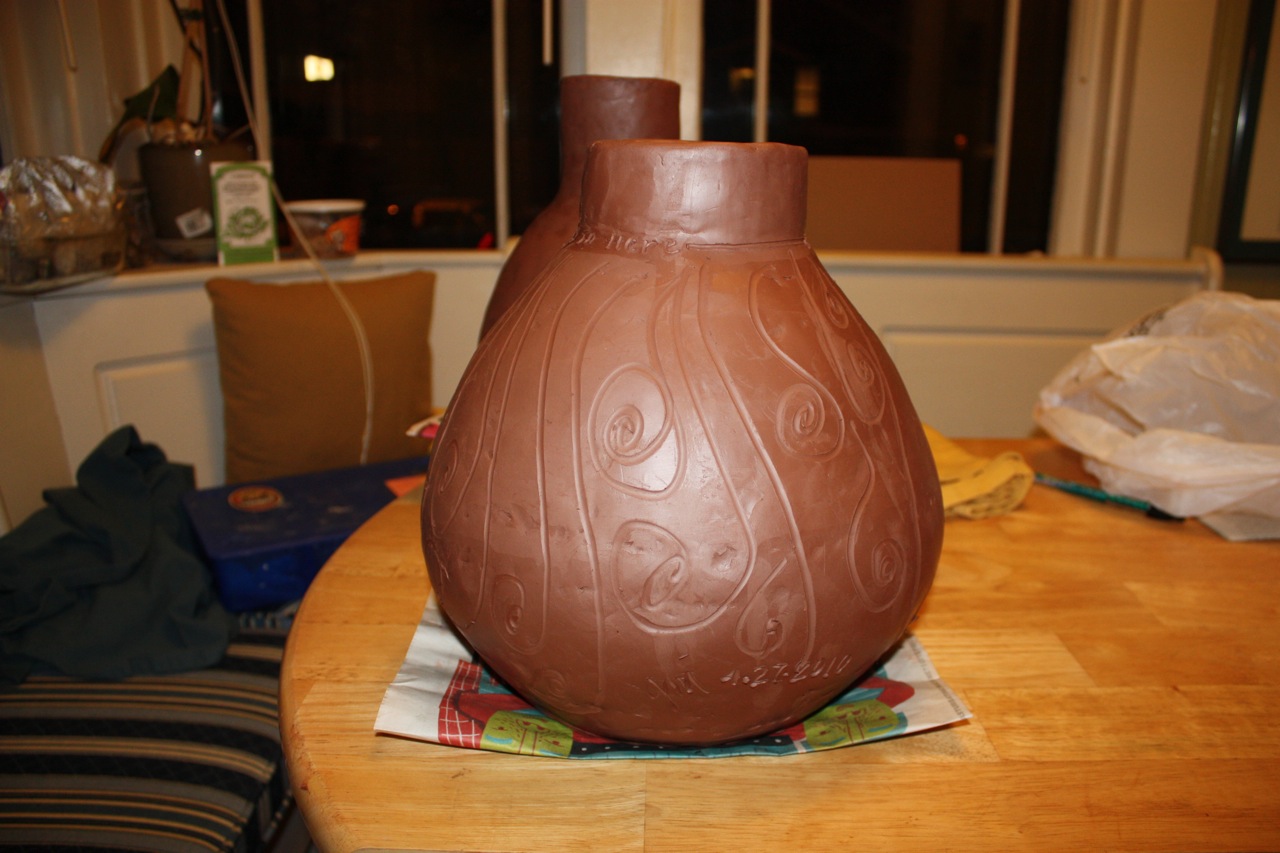
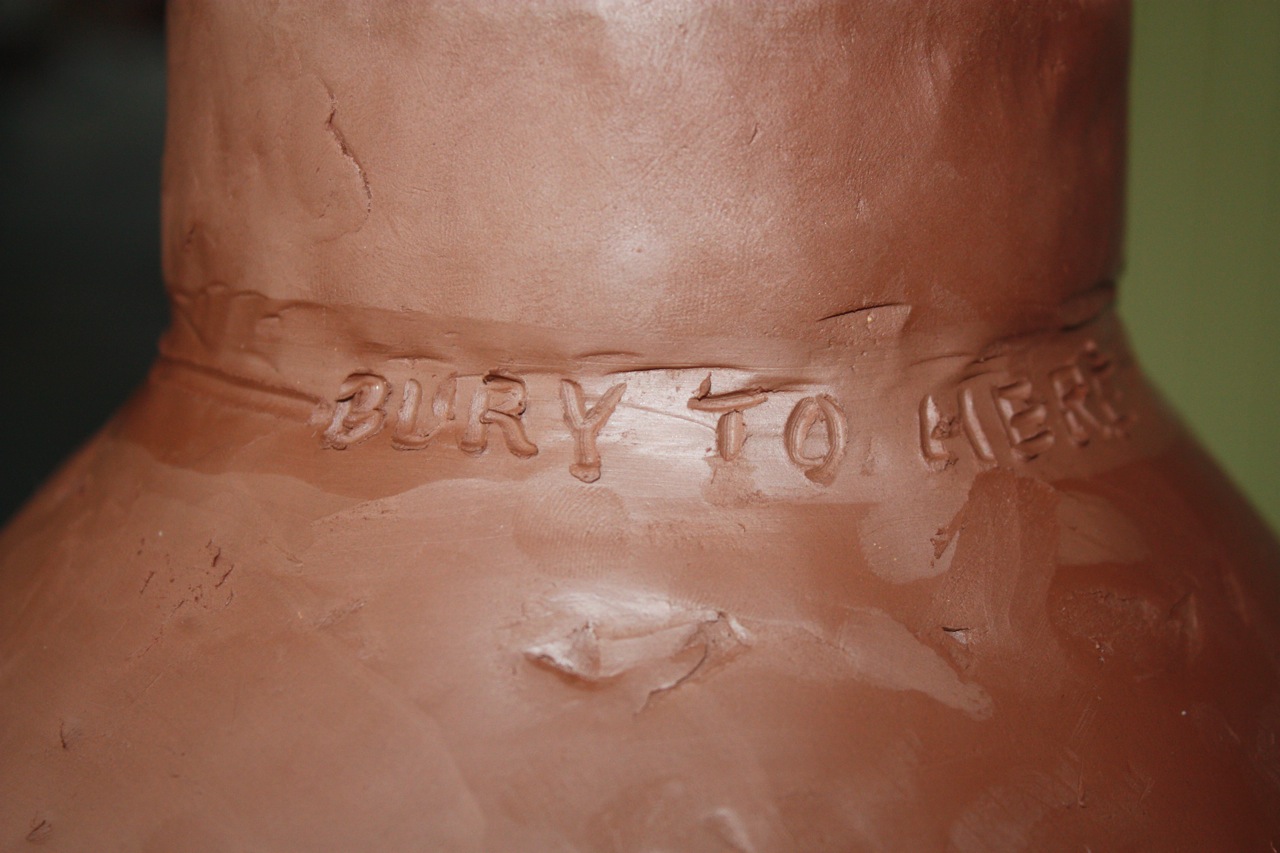
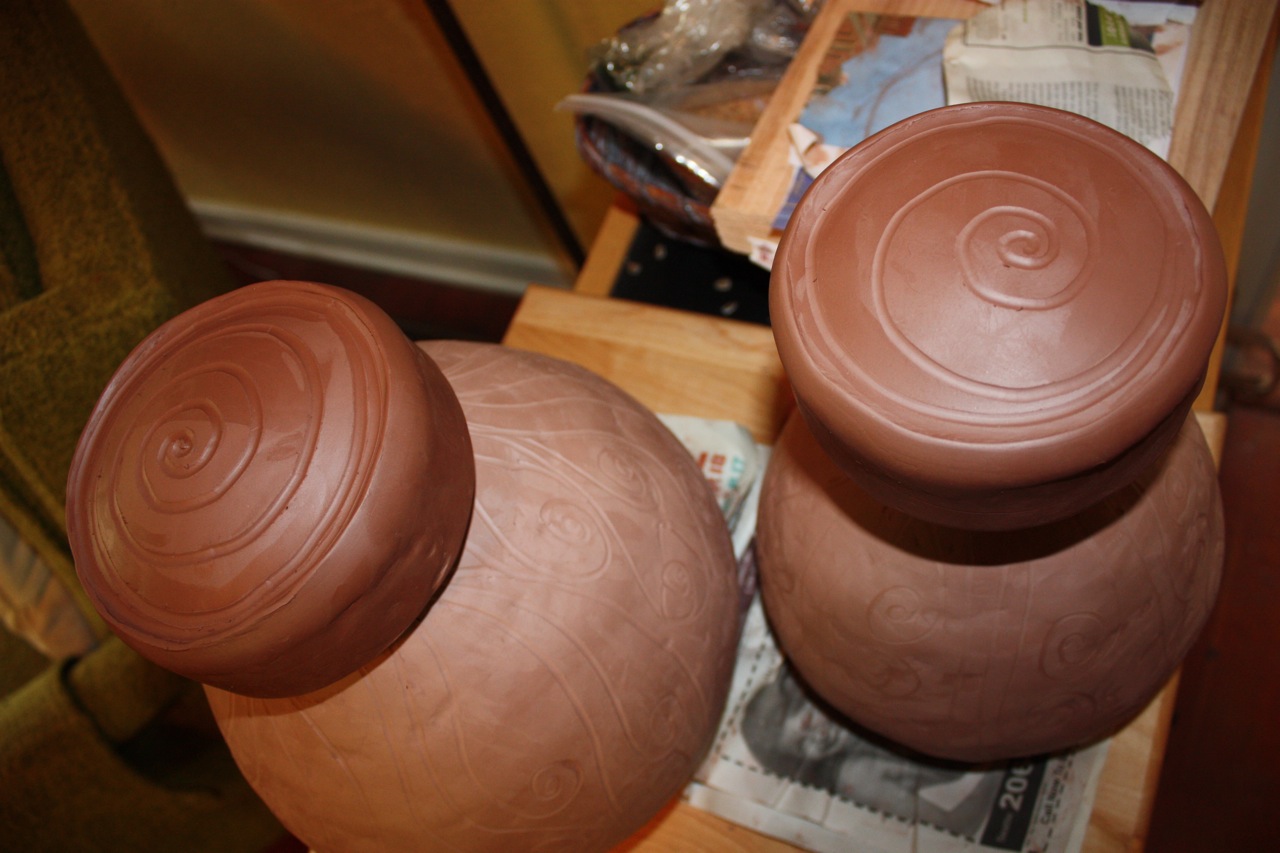
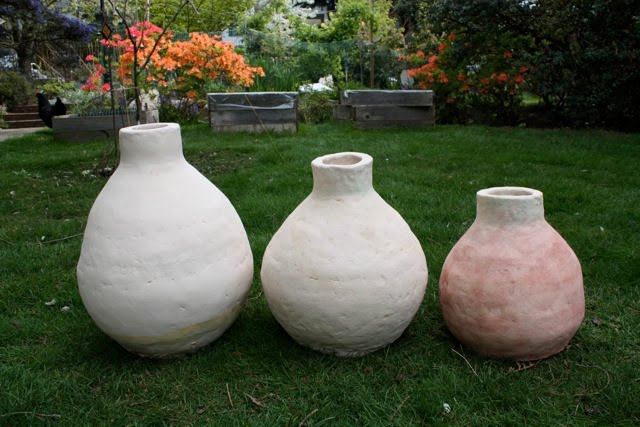
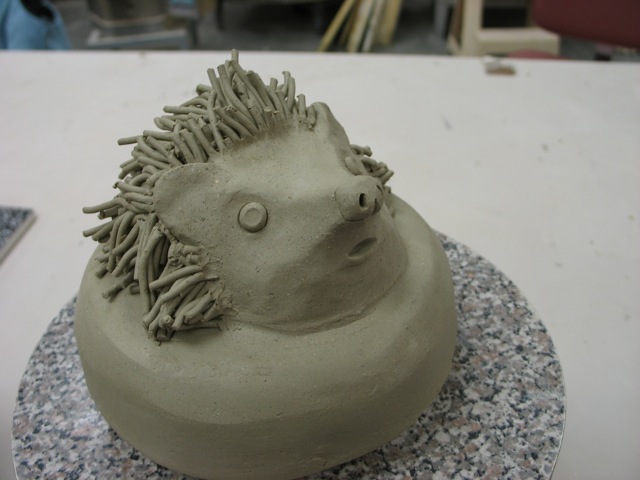
I decided to decorate these pots. Even though they will be buried in the ground, the plain utilitarian look of my first set of ollas was a bit disappointing!


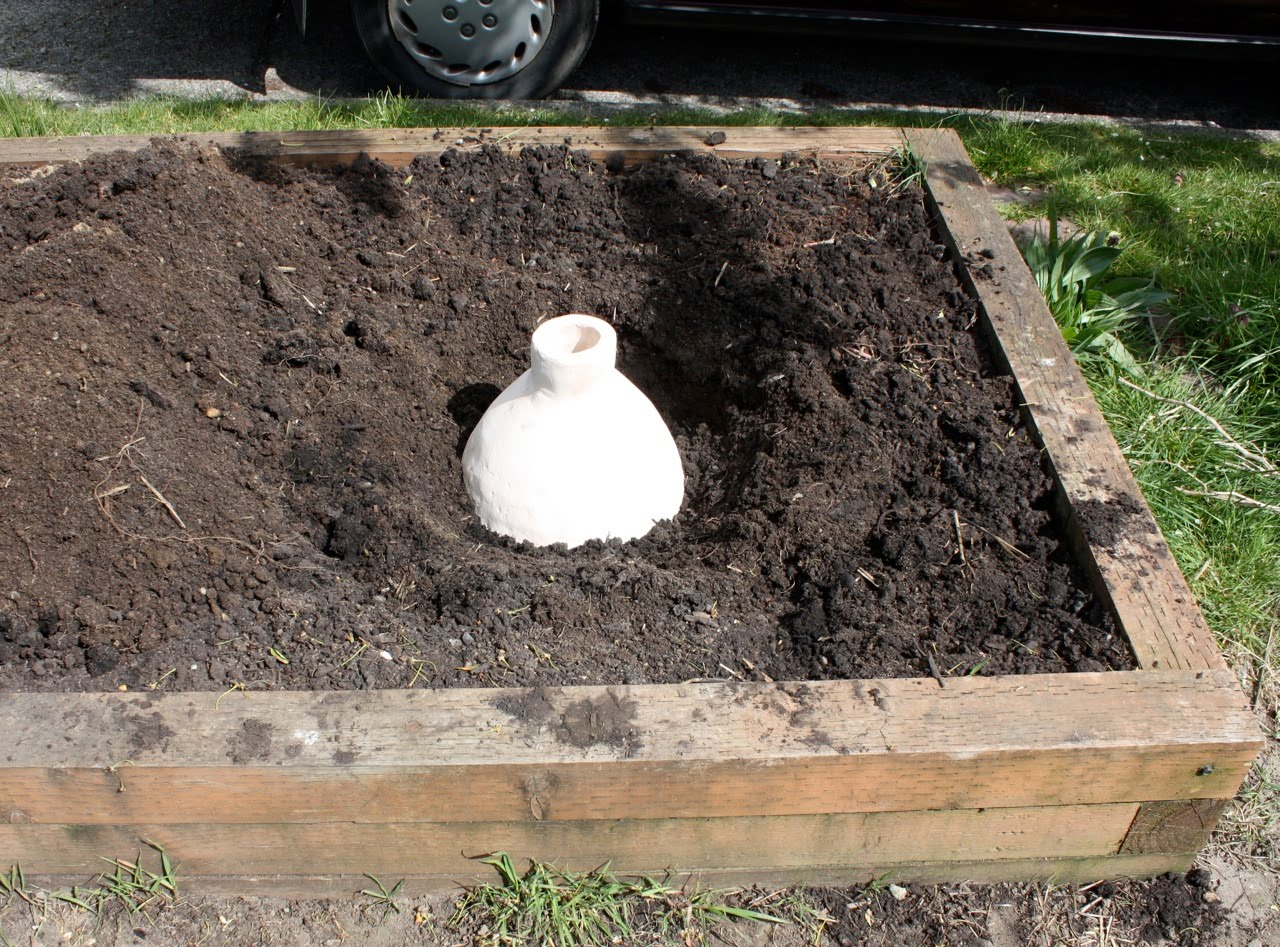
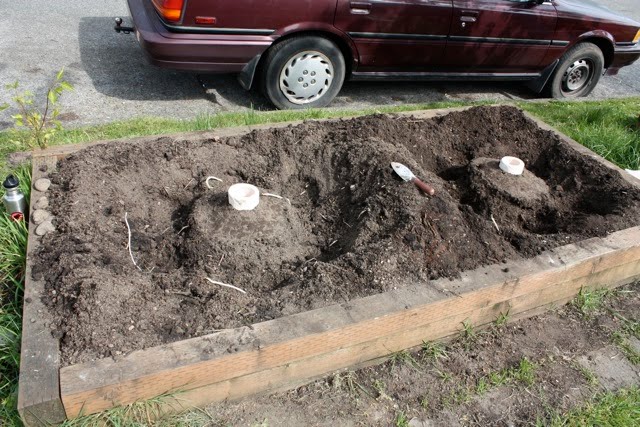
My first olla took 5h to make. Since then they’ve been getting smaller. This one took 2h and the next (below) took 1h. It is both smaller and thinner! It also has a longer neck, similar to the commercial ollas I’ve seen used at Path to Freedom. I am impatiently waiting for these to dry so I can try firing and planting them.

UPDATE: I will be teaching a hand-building class in Seattle March 2013!

Posted in ceramics, DIY, olla irrigation, vegetable garden | 7 Comments

Planting my first garden ollas


After nearly 2 years of mulling, planning, and anticipation, I planted my homemade ollas this week. I have no idea if they will work – the walls are quite thick compared to the commercial ones I’ve seen online and I don’t know how porous my pots are. Yes, I could have tested this, but I was too impatient! I call it ‘adaptive management’.

I decided to try them out on the parking strip because I can’t get a hose out there to water those beds anyhow. Plus, it’s potatoes so I won’t be devastated if the experiment fails.


I planted 2 varieties of potatoes from my 2009 harvest: Norketah russets and Red Sangre whites. The Norketah had already produced long shoots in the dresser drawer in the basement, so I’m not sure how that’s going to work out. Will the shoots die? Will the shriveling potatoes bud out again? [Update 5/5/2010: They are growing!] The Red Sangre were mostly still firm with sprouting eyes no more than 1″ long.

Where to plant the potatoes?

1. Horizontal. The ollas I’ve read about suggest planting within one radius from the pot edge. My pots are about 16″ wide. That makes 8″ from the pot. Potatoes should be about 12″ apart, so I spaced them 8″. Someday I might have enough land that I won’t skimp on spacing. It rarely pans out, but I just can’t help it – I’m a space miser!

2. Depth. This I was less sure of. I reasoned that if the pots would tend to moisten the soil more below their midline than above. The pots are about 18″ tall. The neck is 2+”, which stays above ground, so I had ~16″ to work with. To maximize potato proliferation, I want to mound around my potato plants. The recipe I followed said to dig a 6″ trench, space the potatoes 12″ apart, and bury them with 4″ soil.


To adapt this for my ollas, I dug a trench around the pot, about 16″ out from center and about 8″ deep so I could plant the seed potato at the midline. I figured the root zone could then maximally envelop the pot. Vemos. I then covered the potatoes with 4″ soil, leaving some pretty big soil mounds in my raised bed with which I can cover the plants as they grow. I figure there will be a circular mound ridge, with the pot mouth in the center.


I carried buckets of water to the beds and filled the pots: I’m guessing the pots hold 3-5 gallons. I filled them to the brim. Until I get my lids back from the studio, I’m using inverted plastic tubs from the recycling bin to prevent water evaporating from the exposed pot mouth. Within 12h (though I’m guessing rather quickly), the water level dropped about 5″, but then it stopped. Presumably this was the thick walls of the pot becoming saturated. The water level didn’t drop in the next 24h, so either they won’t work, or they’re waiting for the distant touch of roots to draw it out. Vemos…

[Update 5/5/2010: Ollas are gradually losing water to surrounding soil. Now we just have to wait to see what happens when the dry season hits…]

Update: Control plot added, read about it here.

UPDATE: Read how the potatoes turned out here and here.

Posted in olla irrigation, potatoes | 2 Comments

Garden Ollas (O-Yahz)


I first read about using ollas in the garden from the DeVraies family, full-time urban homesteaders in Sacramento. They also made a good video of olla installation here.

I was immediately intrigued. “It rains a lot in Seattle”, but what few people know is that it doesn’t rain much, sometimes at all, during summer. Water conservation gets to be pretty important during the dry summer months, especially for gardeners.

Furthermore, my garden is big, is far from my water source, and is awkwardly surrounded by anti-chicken fencing. Water pots that could increase efficiency >50% and only needed to be filled 1/week sounded awesome.

Enter the olla de barro; the clay pot. Here’s the deal. An unglazed, low-fired earthenware, like terra cotta, is porous. Water will seep from it. If it is fired just right, water will be drawn from it by the touch of something more dry, like fine soil or plant roots.


Garden ollas have bulbous bottoms and narrow necks. They are buried up to their neck, filled with water, and capped with something to prevent evaporation. Planting around the pot, within the seep zone, allows plant roots to grow towards the pot, sometimes enveloping it. As the plant roots suck water from the pot, the water level declines and the pot needs to be refilled.


Could I get some in Seattle? No. Could I order them online? Yes, but $$$. For this frugal graduate student the $$$ was a definite deal-breaker. Plus I’d need a lot of them. But hey, wait a minute. I’m a potter…could I make one?

OK, I’m not that good a potter. I had no idea where to start. My teachers recommended I use a groggy sculpture clay and make the walls 1/2″ thick. I started with a flat slab bottom and hand-built the walls using rough coils. My first pots are big, heavy, thick-walled, and I have no idea if they will work.


For the first pot I used Akio, a sculpture clay that vitrifies at cone 6. My second and third pots are made from Buff Sculpture Clay from Seattle Pottery Supply. It vitrifies at cone 8-10. That’s really hot. ‘Vitrified’ is the opposite of porous, so I decided not to put my pots through a second firing. Bisqued (cone 06 ~ 1000C) they remain.


I made lids with funny animal heads, stained them with oxides and underglazes, then covered them with a low-fire clear glaze. I could fire them hot cause the lids don’t need to remain porous, but will just stick with the low-fire for now. I’ll post another pic when they come out of the kiln. [Update: Here they are!]


Next post: Planting Ollas!

After all the fretting about clay bodies, firing temperatures, and matrix porosity, I’m thinking of building my next ones from a low-fired earthenware like terra cotta, hoping our lowest firing temp (1000C) will keep the body porous. Any advice would be great.

Check out this wonderful technical document from the University of Pretoria.

Posted in ceramics, olla irrigation | 3 Comments

The Soil Test


Year 2 in the garden. It’s past time I tested the nutrient levels in my soil. I have a variety of beds so I bought a test kit. Although the kit advertizes ’40 tests’, the fine print reads (10 each for N, P, K, pH). So really, it’s only 10 tests. Bummer.

I follow the instructions, taking a mixed sample of soil from a few inches down. I mix in water at 1:5. I wait for the fine particulates to settle.

First thing I notice is that I have some very different soil across my beds. The best is my main garden, which is nicely dark, moist, and well-structured. Sub-standard are the beds out by the street which are pretty dry, light, and friable, and the bottle bed, which has a lot of clay.


The tests showed normal pH, high P, high K, and … zero N. Really? No nitrogen? In all the beds? I run through the possibility. Before last year, the main garden was grass – a N-sucker. Plus we live in the PNW where it rains a lot, which would leach nutrients. Yes, I had skimped on the amount of compost I dug into the soil the first year, and yes, some plants were struggling by the end of the season. So I suppose it’s possible the N is completely depleted.

Manure? Fish emulsion? What to do – and how much? I called a local hotline to ask for advice.

Turns out you cannot reliably measure nitrogen in the soil in spring. Oh that’s rich (or depleted…whatever). The nice lady at Seattle Tilth told me that the local county extension doesn’t even offer soil nitrogen testing in spring. Although not likely at zero, my soil nitrogen probably is depleted, for the reasons stated above. Seattle Tilth recommended 3-4″ of compost dug in now and some mid-season side-dressing. Easy enough. But it would have been nice if the soil test kit had told me to wait until fall.

Posted in soil test | 1 Comment