
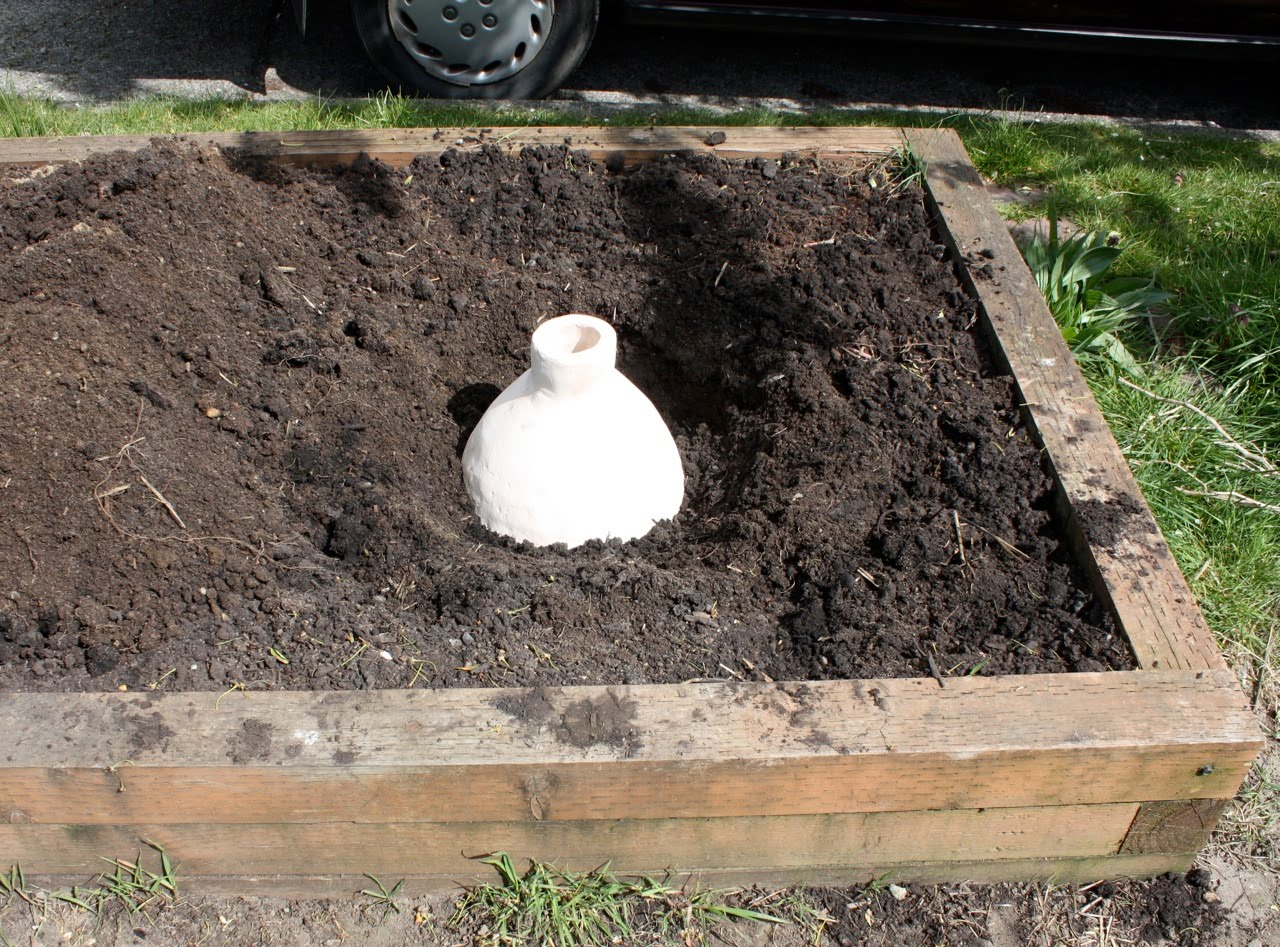
After nearly 2 years of mulling, planning, and anticipation, I planted my homemade ollas this week. I have no idea if they will work – the walls are quite thick compared to the commercial ones I’ve seen online and I don’t know how porous my pots are. Yes, I could have tested this, but I was too impatient! I call it ‘adaptive management’.
I decided to try them out on the parking strip because I can’t get a hose out there to water those beds anyhow. Plus, it’s potatoes so I won’t be devastated if the experiment fails.
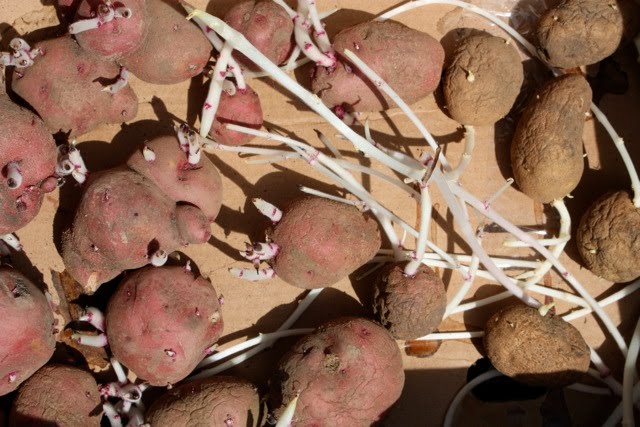
I planted 2 varieties of potatoes from my 2009 harvest: Norketah russets and Red Sangre whites. The Norketah had already produced long shoots in the dresser drawer in the basement, so I’m not sure how that’s going to work out. Will the shoots die? Will the shriveling potatoes bud out again? [Update 5/5/2010: They are growing!] The Red Sangre were mostly still firm with sprouting eyes no more than 1″ long.
Where to plant the potatoes?
1. Horizontal. The ollas I’ve read about suggest planting within one radius from the pot edge. My pots are about 16″ wide. That makes 8″ from the pot. Potatoes should be about 12″ apart, so I spaced them 8″. Someday I might have enough land that I won’t skimp on spacing. It rarely pans out, but I just can’t help it – I’m a space miser!
2. Depth. This I was less sure of. I reasoned that if the pots would tend to moisten the soil more below their midline than above. The pots are about 18″ tall. The neck is 2+”, which stays above ground, so I had ~16″ to work with. To maximize potato proliferation, I want to mound around my potato plants. The recipe I followed said to dig a 6″ trench, space the potatoes 12″ apart, and bury them with 4″ soil.
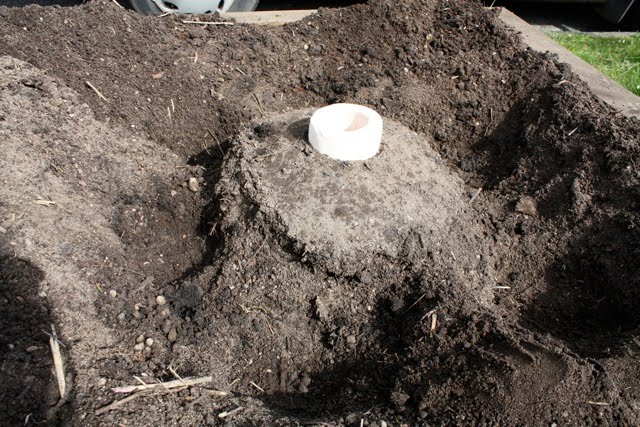
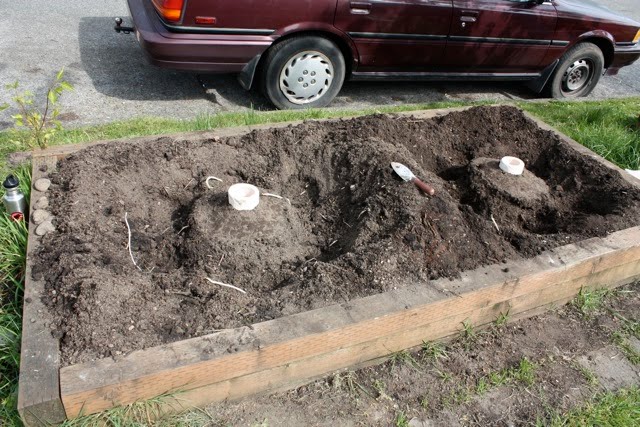
To adapt this for my ollas, I dug a trench around the pot, about 16″ out from center and about 8″ deep so I could plant the seed potato at the midline. I figured the root zone could then maximally envelop the pot. Vemos. I then covered the potatoes with 4″ soil, leaving some pretty big soil mounds in my raised bed with which I can cover the plants as they grow. I figure there will be a circular mound ridge, with the pot mouth in the center.
I carried buckets of water to the beds and filled the pots: I’m guessing the pots hold 3-5 gallons. I filled them to the brim. Until I get my lids back from the studio, I’m using inverted plastic tubs from the recycling bin to prevent water evaporating from the exposed pot mouth. Within 12h (though I’m guessing rather quickly), the water level dropped about 5″, but then it stopped. Presumably this was the thick walls of the pot becoming saturated. The water level didn’t drop in the next 24h, so either they won’t work, or they’re waiting for the distant touch of roots to draw it out. Vemos…
[Update 5/5/2010: Ollas are gradually losing water to surrounding soil. Now we just have to wait to see what happens when the dry season hits…]
Update: Control plot added, read about it here.


And … ? Dying to know how they turned out! Am just embarking on similar experiment in semi-arid South Australia. It is now spring and I am waiting for local potters to get back to me with prototypes and pricing. Have been considering self-built coil pots also. I love how you have 'thought out loud' on your blog, because you are covering all those wotifs, questions & uncertainties I and others have been asking but had only myself to answer.
Hi songbird – how exciting! There are a few other posts following up on this topic. I'll edit the post so they link to it. Tomorrow I'll post the final write-up for the potato olla experiment. I'd love to hear how your project turns out!