
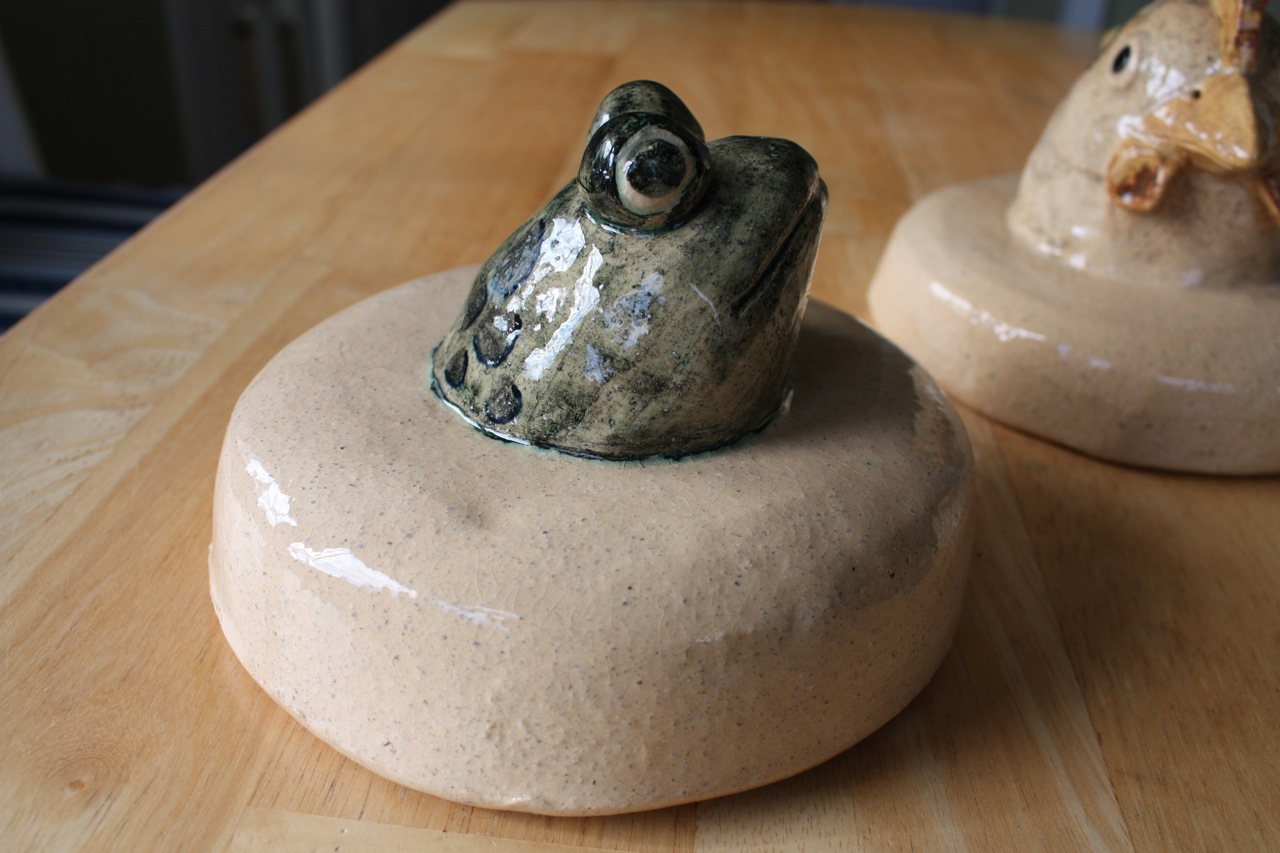
Clear, low-fire glaze over oxide stains and underglazes. Now the water in my ollas won’t evaporate. Not sure I’ll get this involved for my next ollas, but they sure are cute!


UPDATE: I will be teaching an olla hand-building class this March in Seattle!


Jen, these are awesome! So cute! If I lived out where I could get it, I'd buy several from you in a sec!I hear you're going to be in a fair. What are you going to sell? When is it? Where?
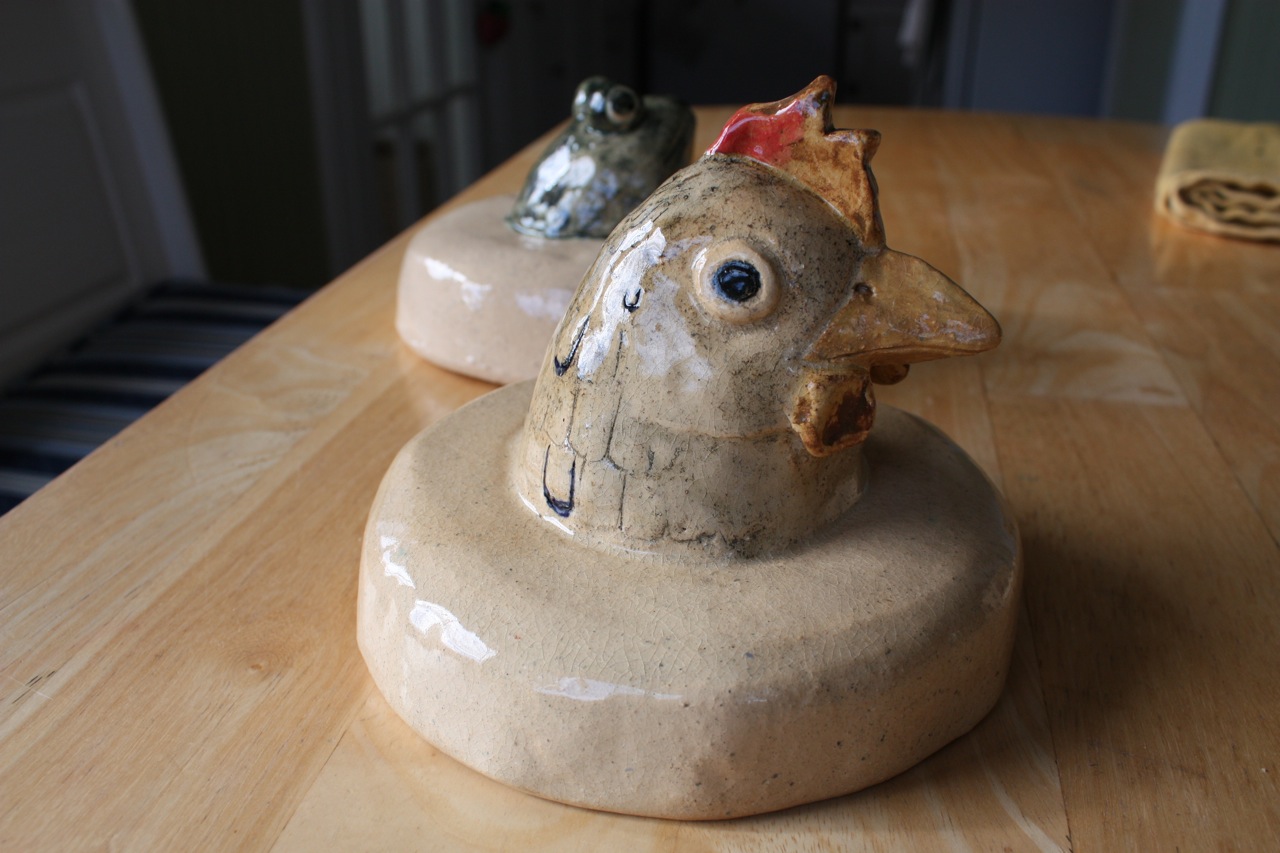
The lids are sooooo cute! Yes, I would totally buy them too! (not that plants are getting enough water in the PNW)
PS. I'm totally paranoid – how do you make sure no one steals the lids?
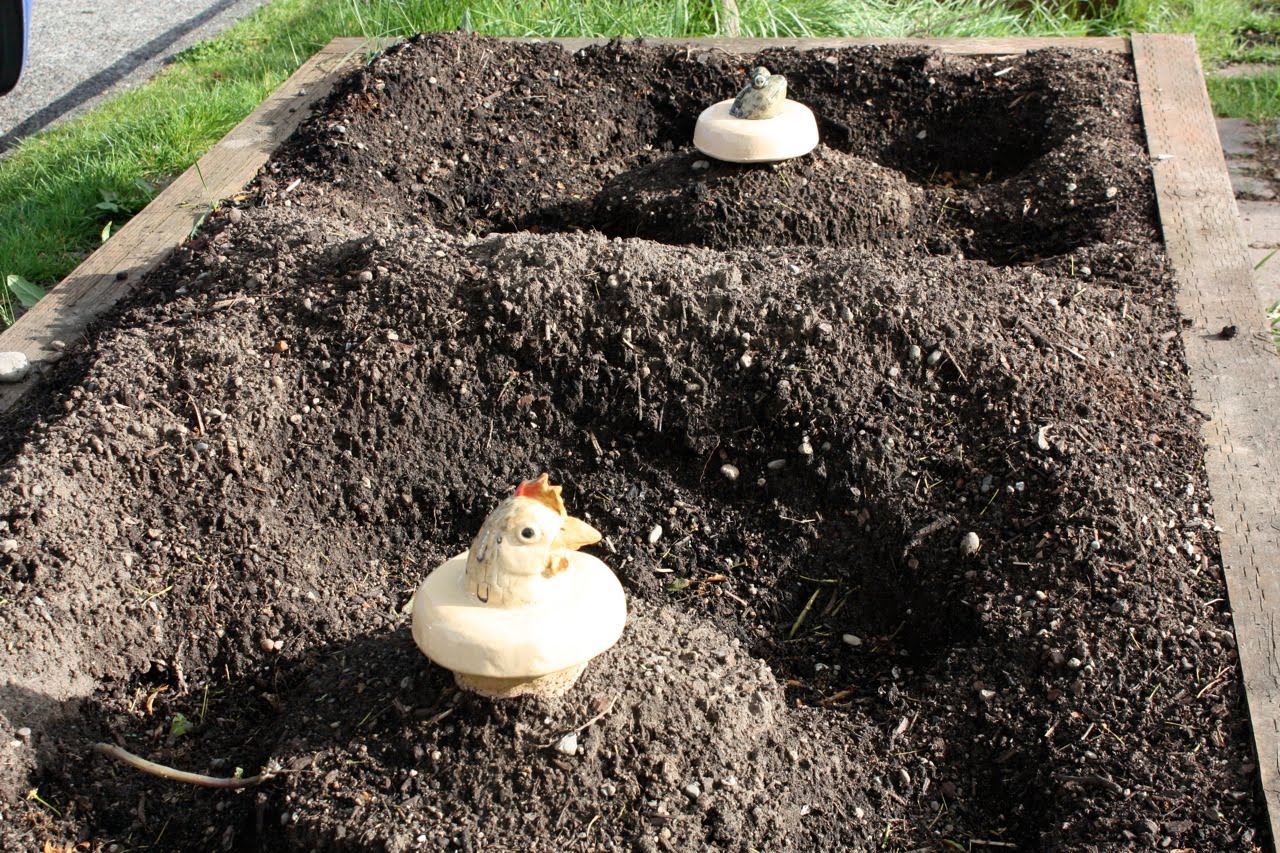
The second I set them proudly out on the ollas by the street I became paranoid, too. Alas, I can only hope…Maybe I'll make some boring ones, stick them out by the street and put these ones in the yard.
Those are amazing! I had so much fun meeting you today – and would totally buy some of those from you. Quick, before someone steals them!Now that I am on your blog I recognize it from last summer. I somehow stumbled onto a post of yours that seems like it was a wall of bottles maybe? Is that you?And hi Tiffany!
Yes, that's me! I'm going to post some new pics of the bottle wall cause it's evolved some since last year (last post on it here:http://sustainablescientist.blogspot.com/2009/07/bin-composting.html.Great) meeting you, too, sustainableeats. Looking forward to sharing knowledge and experiences! Let you know how my goat soap goes.
Wow! Those are coolest lids! I was trying to figure out how you roll the clay between two wooden spoons with a pastry roll.
Hi David! Perhaps I described that poorly. It goes like this: plop chunk of clay on table. Place wooden spoons on either side. Use rolling pin to flatten clay. At about 1/2", you start rolling on the spoons. The wooden spoons (the handles in particular) control the final thickness of the slab. You could use anything, but if you have several wooden spoons in your house, it's an easy way to control slab thickness.
Got it! That is clever. I took a pottery class and we had this roller thing to do this. I love this idea.Thank you.
Where can I buy a hedgehog lid? ADORABLE!!