

The original coop door – R.I.P.
Ah, the chicken coop door. The times we’ve neglected to shut it. The times we’ve forgotten. The times we thought we did, but didn’t. The times it was out for repair. Over the years we have unnecessarily lost 5 hens to raccoons because of that door.
Not to mention the tedium of the evening and morning ritual – “Did you lock the chickens up?” “Did you let the chickens out?”
No more. I wanted to build my own automatic door, but didn’t feel up to learning the electrical side (my teachers were on strike during that portion of high school physics and I never did catch up). So I researched them online.

New coop door with Pullet-Shut installed
This spring I finally purchased the Pullet-Shut. I originally wanted a vertical sliding door, but there are fewer moving parts to go wrong on the horizontally swinging Pullet-Shut. The door can be programmed to open and close at specific times, or can be automatically tuned to the seasons with a light sensor. The small battery that operates the door can also be charged with a small solar panel. It was a cinch to install, and operates like a dream. Bonus, it is made in the U.S.A. Another nifty feature is that after the door closes in the evening, it will open up again one minute later for one minute to let in any stragglers.
I wish I was being paid to rave about this product cause it was kinda pricey, but it’s worth it.

Control unit for the Pullet-Shut
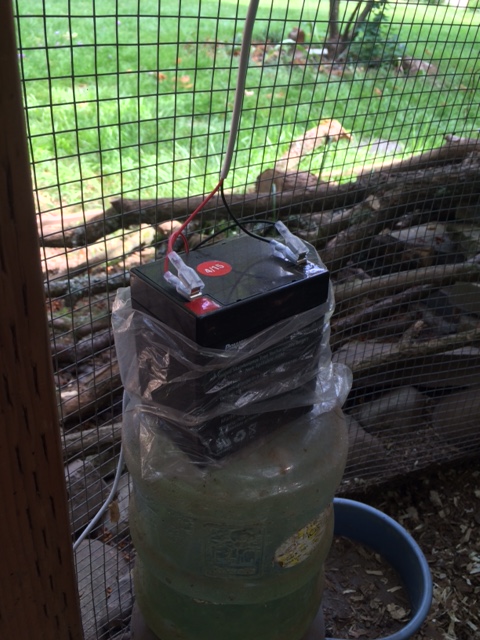
Battery to which the control unit and solar panel are connected

Solar panel to keep battery charged for Pullet-Shut
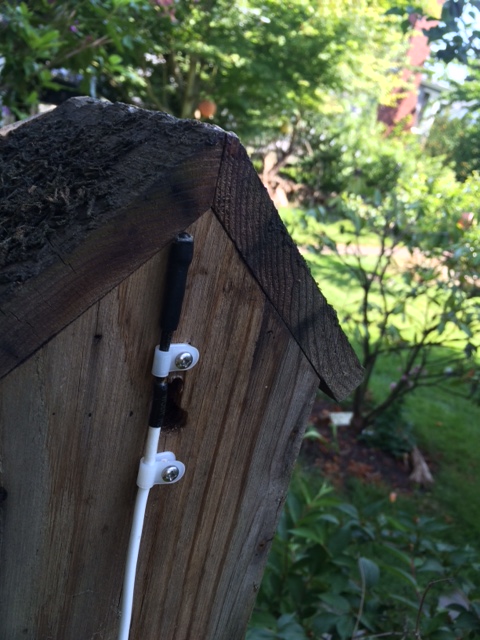
Light sensor for Pullet-Shut mounted on back of bird house


